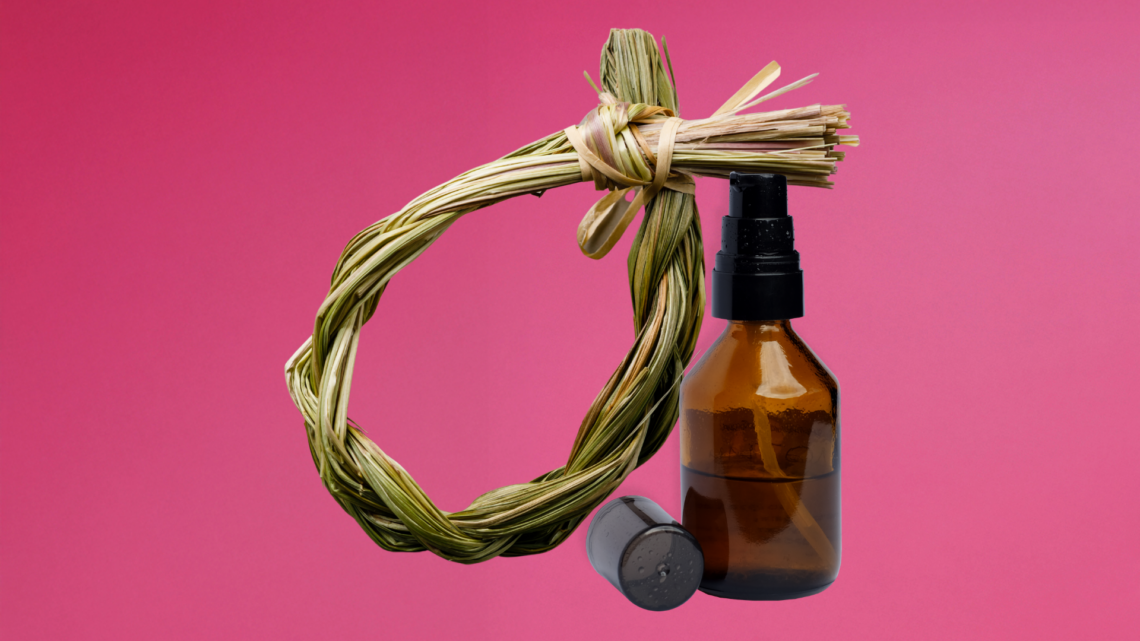
Sustainable Textile Teach-In: Handmade Paper
Papers & Petals Series
ONLINE PROGRAM
FREE
VIEW RECORDING HERE
This summer, our Sustainable Textile Teach-Ins have taken on the theme of Papers & Petals, introducing you to techniques for using flowers and paper in your projects! Handmade Paper is the second instalment of our Paper & Petals Series! In this workshop, you’ll learn how to make paper by hand using repurposed and household materials. Join Education Coordinator Yahn Nemirovsky and learn how to make recycled paper by hand, including petals and leaves from your garden!
All skill levels and ages are welcome. Class size is limited, registration is required.
You will receive the Zoom meeting access info in a confirmation email upon registration for this program. A reminder email with complete details on required and optional preparation will be sent out in advance of the Teach-In.
NOTE: If you intend to be mashing the pulp for your paper by hand (using a mortar & pestle or potato masher instead of a blender), you will need to rip or cut up the paper you’re using and have it soak in water for at least 24 hours prior to the papermaking workshop. I suggest preparing this on the afternoon of either Monday, July 12 or Tuesday, July 13 in order to have it ready for our July 14 Teach-In. You could also do this even earlier and have pulp completely prepared in time for the program. Please scroll down for instructions!
PAPERMAKING MATERIALS
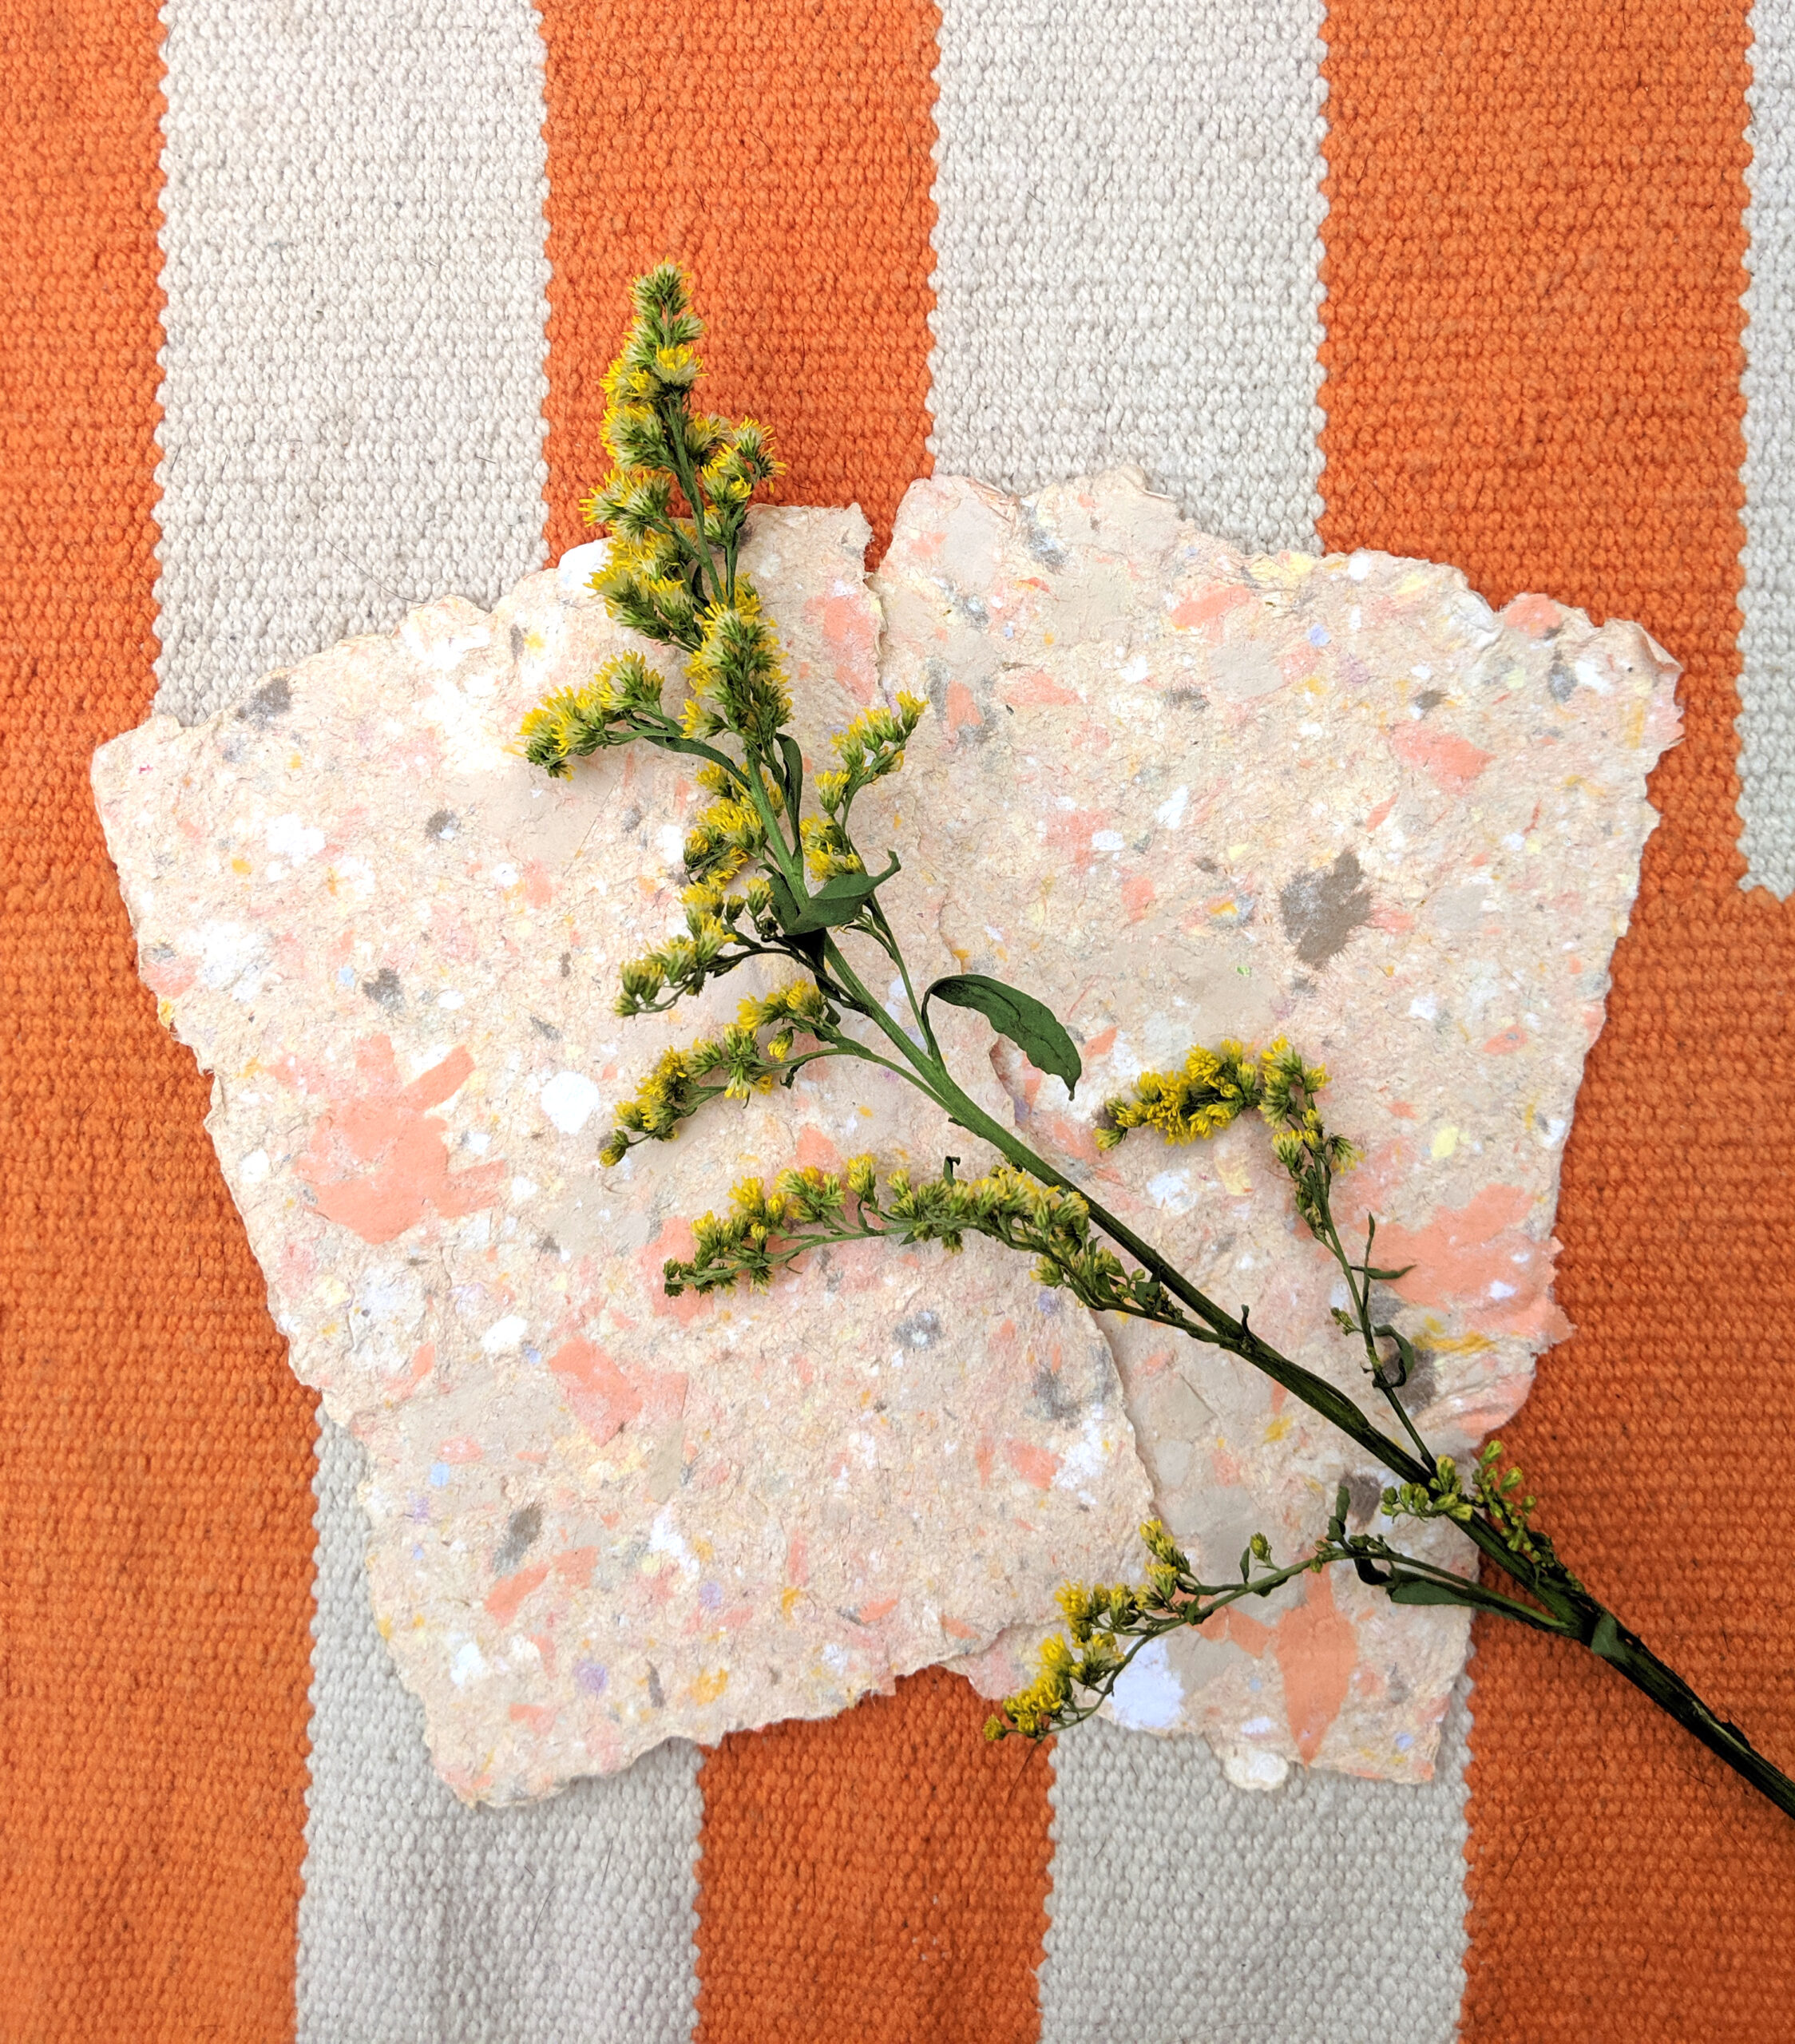
Paper (scrap paper, tissue paper, construction paper, craft paper, drawing paper) The weight of the paper you repurpose will determine the weight of the paper you make. Ex: I recommend not using tissue paper exclusively, as your paper will be very fragile.
Inclusions (optional – flower petals, leaves, glitter, gold foil, yarn cuttings) To be included in the paper pulp.
Basin / Large Bowl or Container Should be large enough to fit your mould & deckle with some space around it for pulling up the paper pulp, and at least 4 inches deep.
Sealable Container / Jar To be used for storing pulp. If you’re going to be using a mortar & pestle or potato masher to beat the pulp, you’ll need to keep the paper you’re repurposing soaking in this jar for at least 24 hours prior in order to soften it.
Sponge / Cloth To be used for soaking up water from the back of the mould when setting a sheet of paper.
Pieces of Cloth (rags, old sheet cut into small pieces, etc.) – also called a pellon or couch sheet
These pieces of cloth will be used for setting sheets of paper, creating an absorbent and protective layer between each one. They should be at least a bit larger than the sheets of paper that your mould & deckle makes. The fabric that you choose should be absorbent and fairly sturdy. Felt is commonly used for this purpose, but just a cotton fabric will work as well.
Blender / Mortar & Pestle / Potato Masher A blender is the fastest and most effective tool for mashing pulp, though using a mortar & pestle or potato masher are also options if you can commit the time needed to beat the pulp by hand.
Mould & Deckle You can either buy a mould & deckle or make it yourself. It consists of two frames—one covered in a fine mesh (mould), and one empty (deckle). The mould & deckle are dipped into a basin of water and pulp and used to draw up sheets of paper. The deckle acts as a border around the sheet of paper, outlining its shape. The mould holds the pulp in place and allows water to drain from it.
MAKING A DIY MOULD & DECKLE
You will need:
2 picture frames These two frames should be the same size. These frames do not need glass or backings—all you’ll be making use of is the borders. I suggest repurposing your own old frames or buying some from a thrift store.
Mesh You can make use of a wide variety of different kinds of mesh for the mould. The most commonly used material for this method is window screening, which you can find at a hardware store. You should have enough mesh to cover one of your frames edge to edge.
Staple Gun / Stapler If you don’t have access to a staple gun, you can open up a regular stapler and use it in a similar way. To do this, open the stapler by its hinge, moving the base away from under the top. The stapler can now be used more freely.
2 elastic bands These elastic bands will be used to hold the deckle to the mold during the process of drawing up sheets of pulp. They are to be removed in order to set the sheet onto a piece of fabric.
Follow these steps to create a DIY mould & deckle:
- Cut a piece of mesh to cover the flat side of one of the picture frames, edge to edge.
- Still on the flat side of the frame, staple its perimeter, placing the staples parallel to sides of the frame that they outline.
- Stack the two frames, flat sides together.
- Stretch the rubber bands over both frames, securing the mould & deckle on either side, in whichever orientation the elastics fit snugly.
PREPARING PAPER & BEATING PULP
To prepare the pulp, you’ll first need to tear or cut up the paper that you’re looking to repurpose. Paper can be cut with scissors, a paper cutter, shredder, or torn by hand.
NOTE: When not in use, keep the pulp in the fridge, where it should last up to a few weeks. If not kept in the fridge, the pulp will get moldy.
If you’ll be using a blender:
If you plan to be using a blender for making the pulp, you can do this preparation on the day of the workshop. If you start the entire process when the Teach-In begins, you may not have enough time to finish your papermaking during the course of the program. I suggest having some of your paper ripper or cut up prior to the beginning of the workshop if you’d like to be drawing sheets throughout the session. The size of the pieces doesn’t matter much in this case, though I recommend that the pieces should be up to roughly 1.5” square in size.
- Cut / tear paper into pieces.
- One handful at a time, put the paper pieces into the blender with enough water to cover all of the pieces. Blend on high.
- If you’ll be making paper right away, put the pulp directly into the basin. If not, store the pulp in a closed container in the fridge.
If you’ll be using a mortar & pestle or potato masher:
If you’ll be mashing the pulp by hand, this should be done 1-2 days in advance of the workshop. The paper should then be soaked in a closed container with water so that it will have time to soften. In this case, the pieces should be quite small so that they’re easier to mash (aim for closer to ½” squares).
- Cut / tear paper into pieces.
- Place torn paper pieces into a jar or sealable container.
- Fill the container with water so that all of the paper is covered.
- Leave the paper to soak for at least 24 hours before you intend to beat the pulp.
- After the paper has soaked, remove it from the container one handful at a time and beat it to a pulp with either a mortar & pestle or potato masher.
- Store the mashed pulp in a sealed container once again, ensuring that it is completely covered with water. Store the container in the fridge.
Become a Member of the Textile Museum Today
And enjoy unlimited free entry to all the Textile Museum's exhibitions, plus much more.
Join Today